Wardrobe
Professionally, Jeff is a retired computer scientist, a genuine geek, and Janet is an educational specialist who still works part time. Janet’s knowledge of makeup and wardrobe is limited to her own clothes and makeup, and Jeff was totally ignorant until recently. Our suggestions are from a variety of sources and from our own photo-editing experience. Wardrobe and makeup can make or break portraits so it is worth thinking about before our shoot.
Take our notes as hints and bring the wardrobe that best fits your intended use of the images. On most of our three-hour shoots, models use two outfits. You are welcome to bring more, but we may not have time for a third change. Keep basic garment color deep, rich, earth tones or black. Use color to accent and highlight. White can be overwhelming in photos because it is too reflective in photographs.
Here are some examples of clothing from past shoots.
Parking Garages
We call these first three images Parking Lot Shots. They are completely in the shade. The model is lit by a reflector casting warm, full body glow. Colorful tops with little or no pattern pop against the dark background, but do not overwhelm the models’ faces. We want relaxed, comfortable, confident, and powerful images.


Alleys
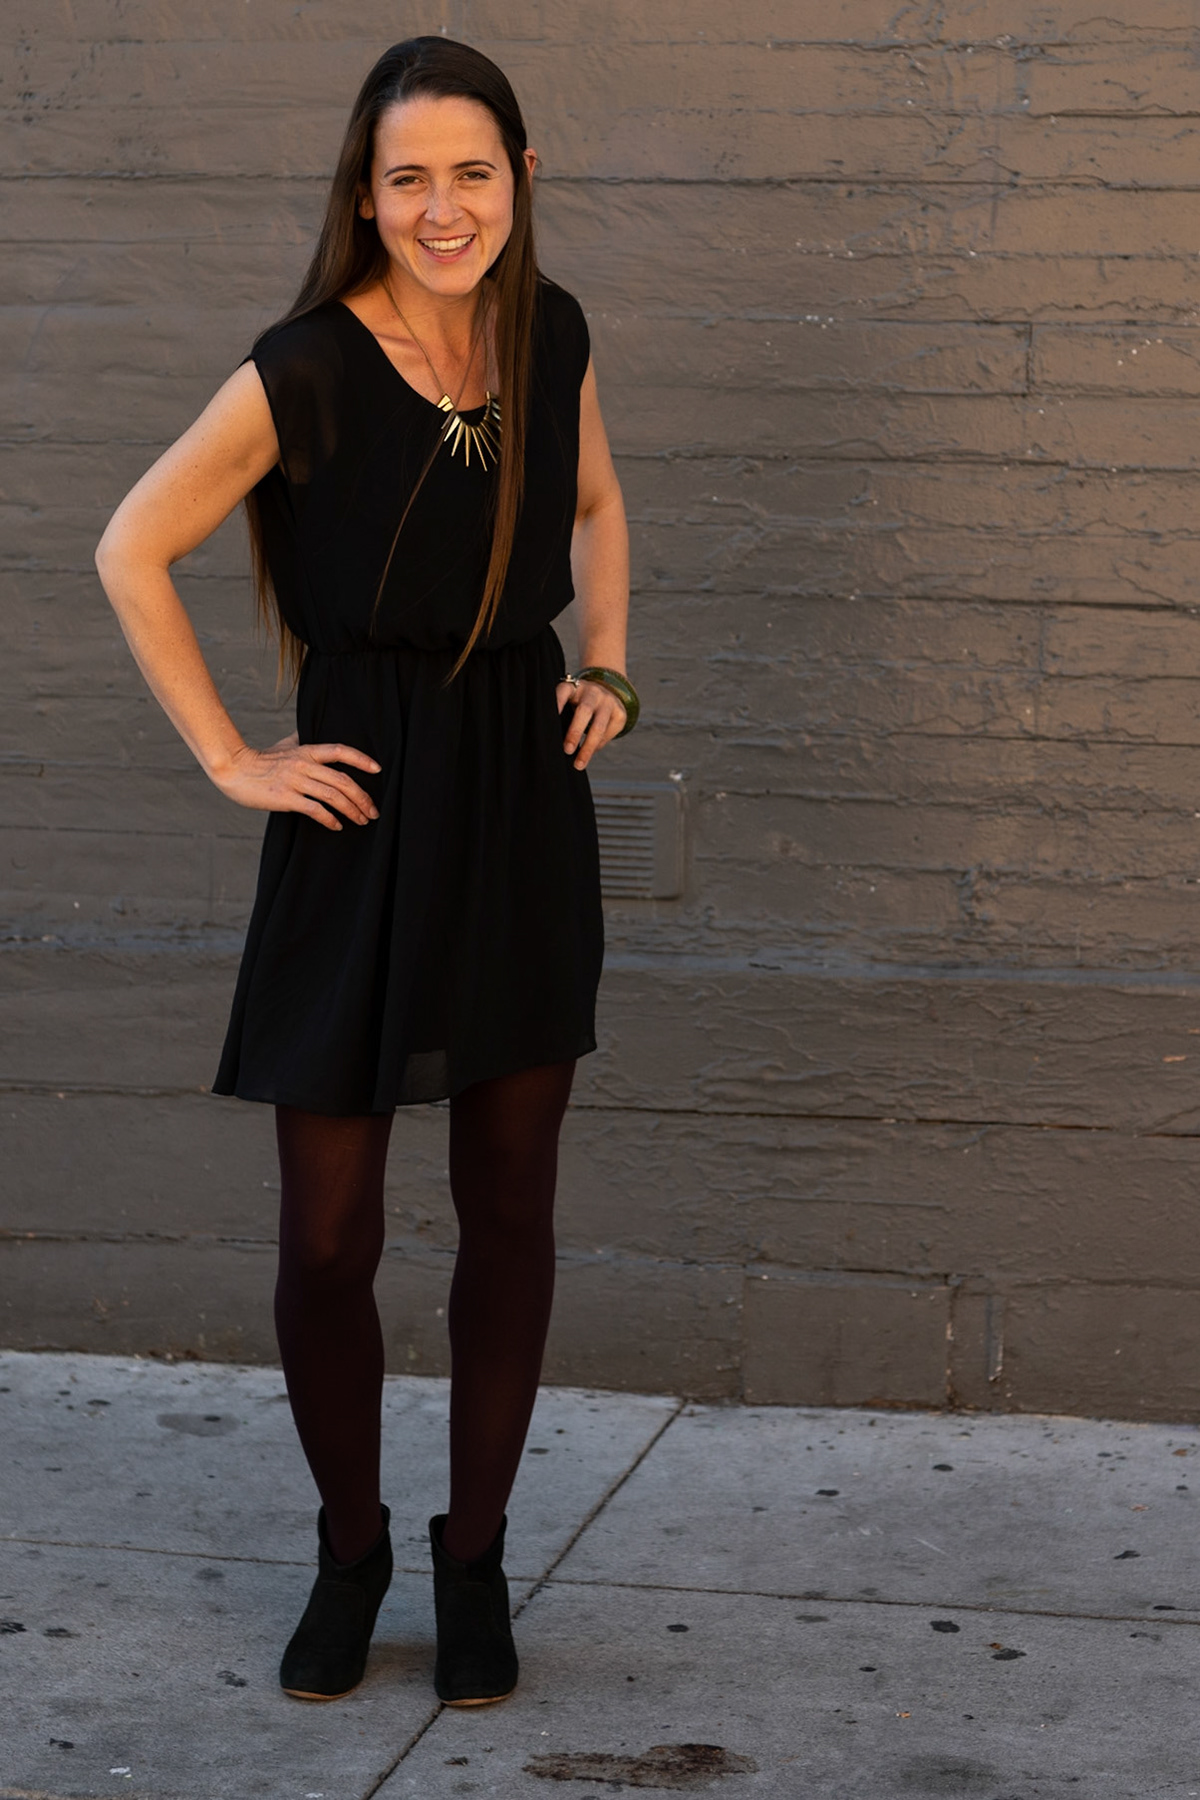
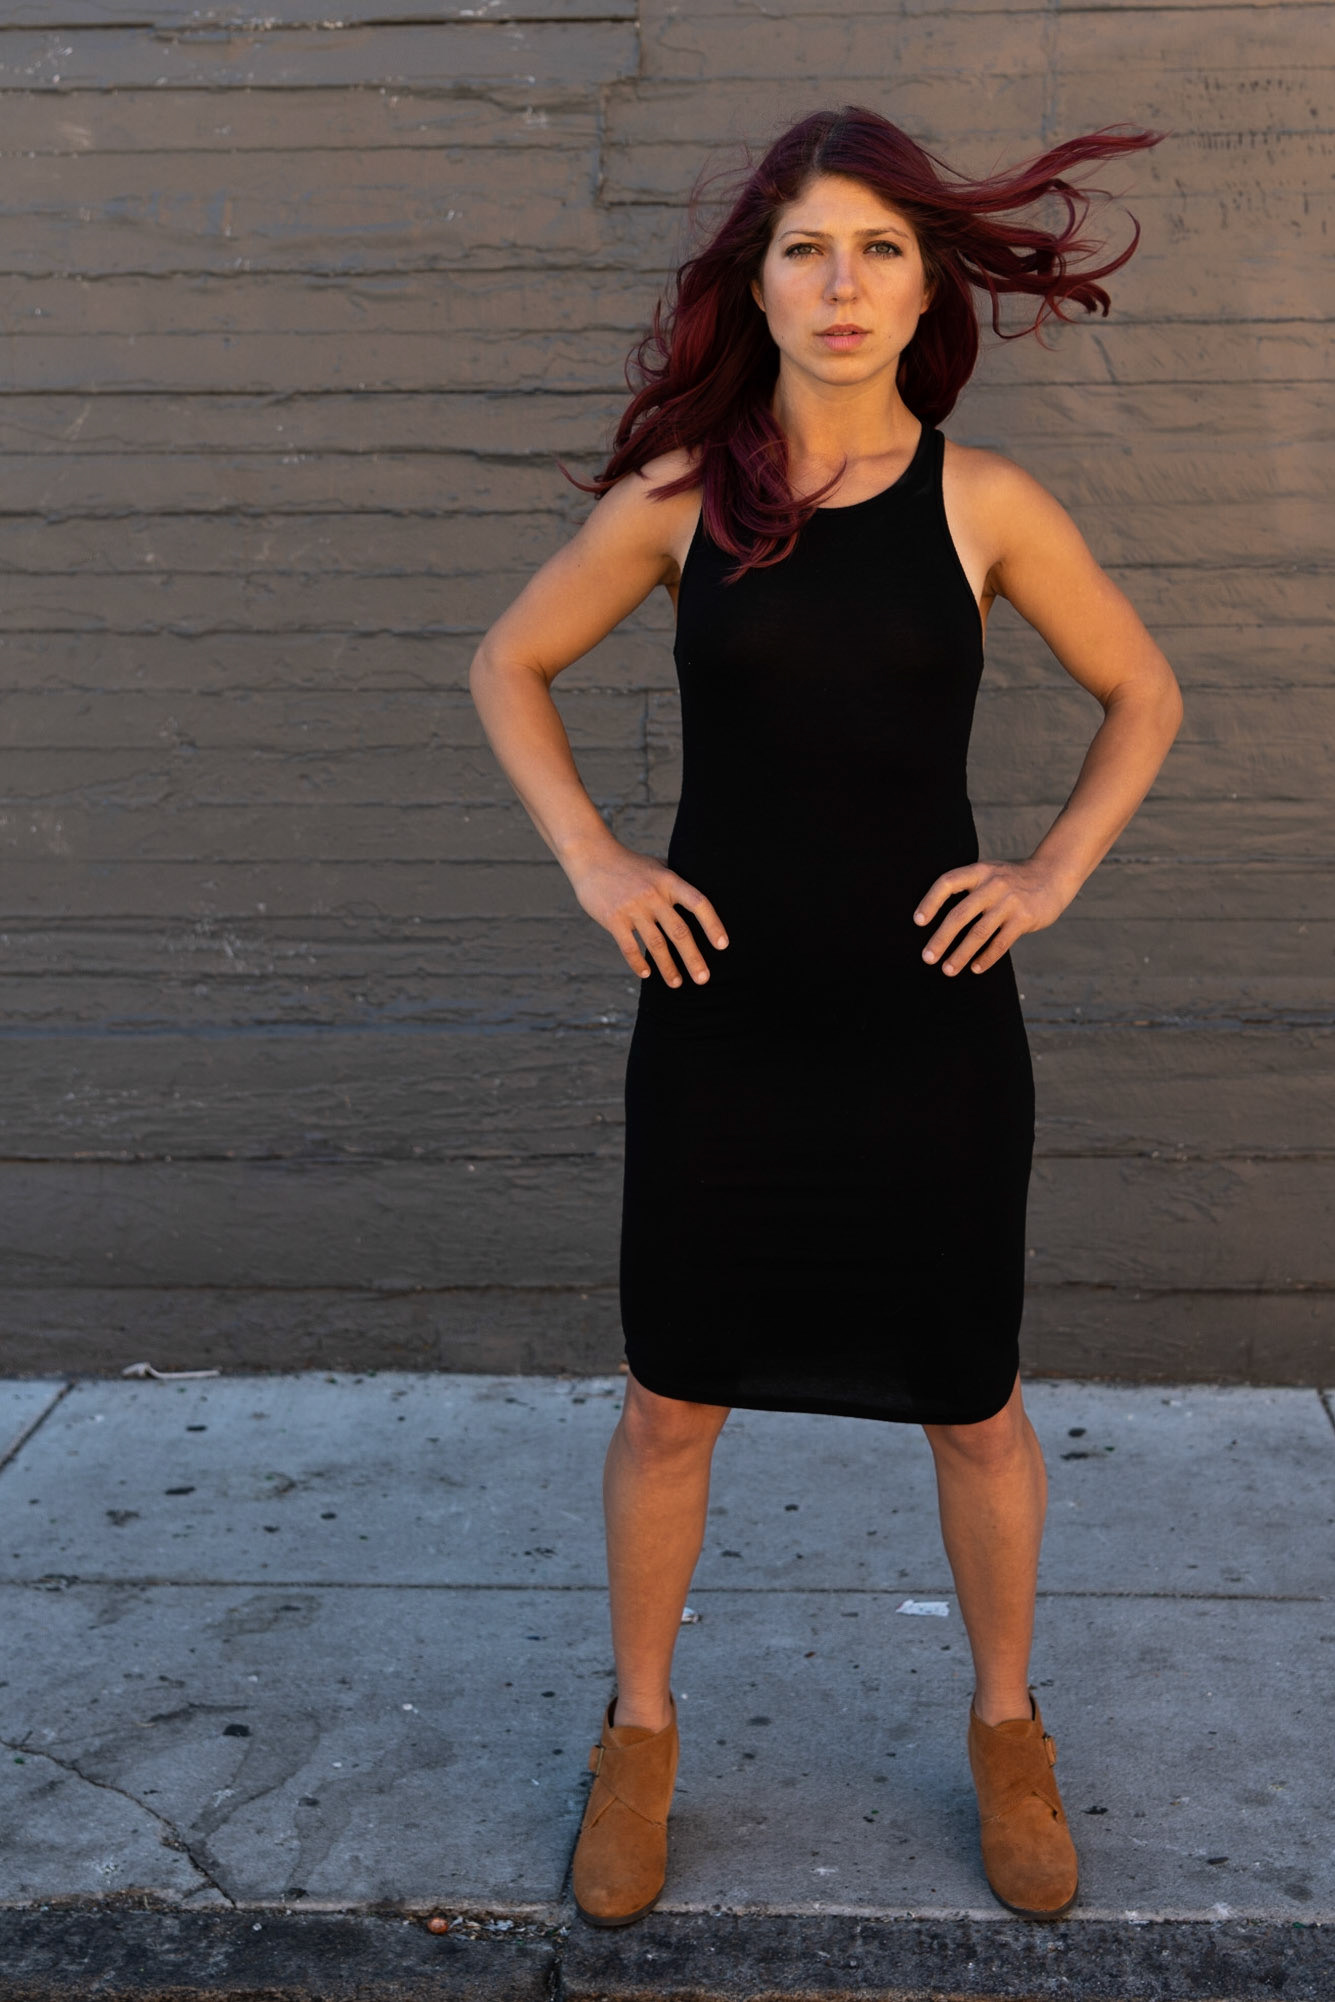
The next three images are Alley Shots. The model and background are in the shade. The model is lit by a reflector, usually from across the street. Clothing should be simple and form-fitting enough to reveal light between the waist and elbow. Differentiating the space between arms and torso slim the body visually. Clothes that are too tight tend to diminish a sense of power, while clothing that is too loose tends to hide the figure and make the model appear broad. Little black dresses work well. We want feminine, dignity, and power.
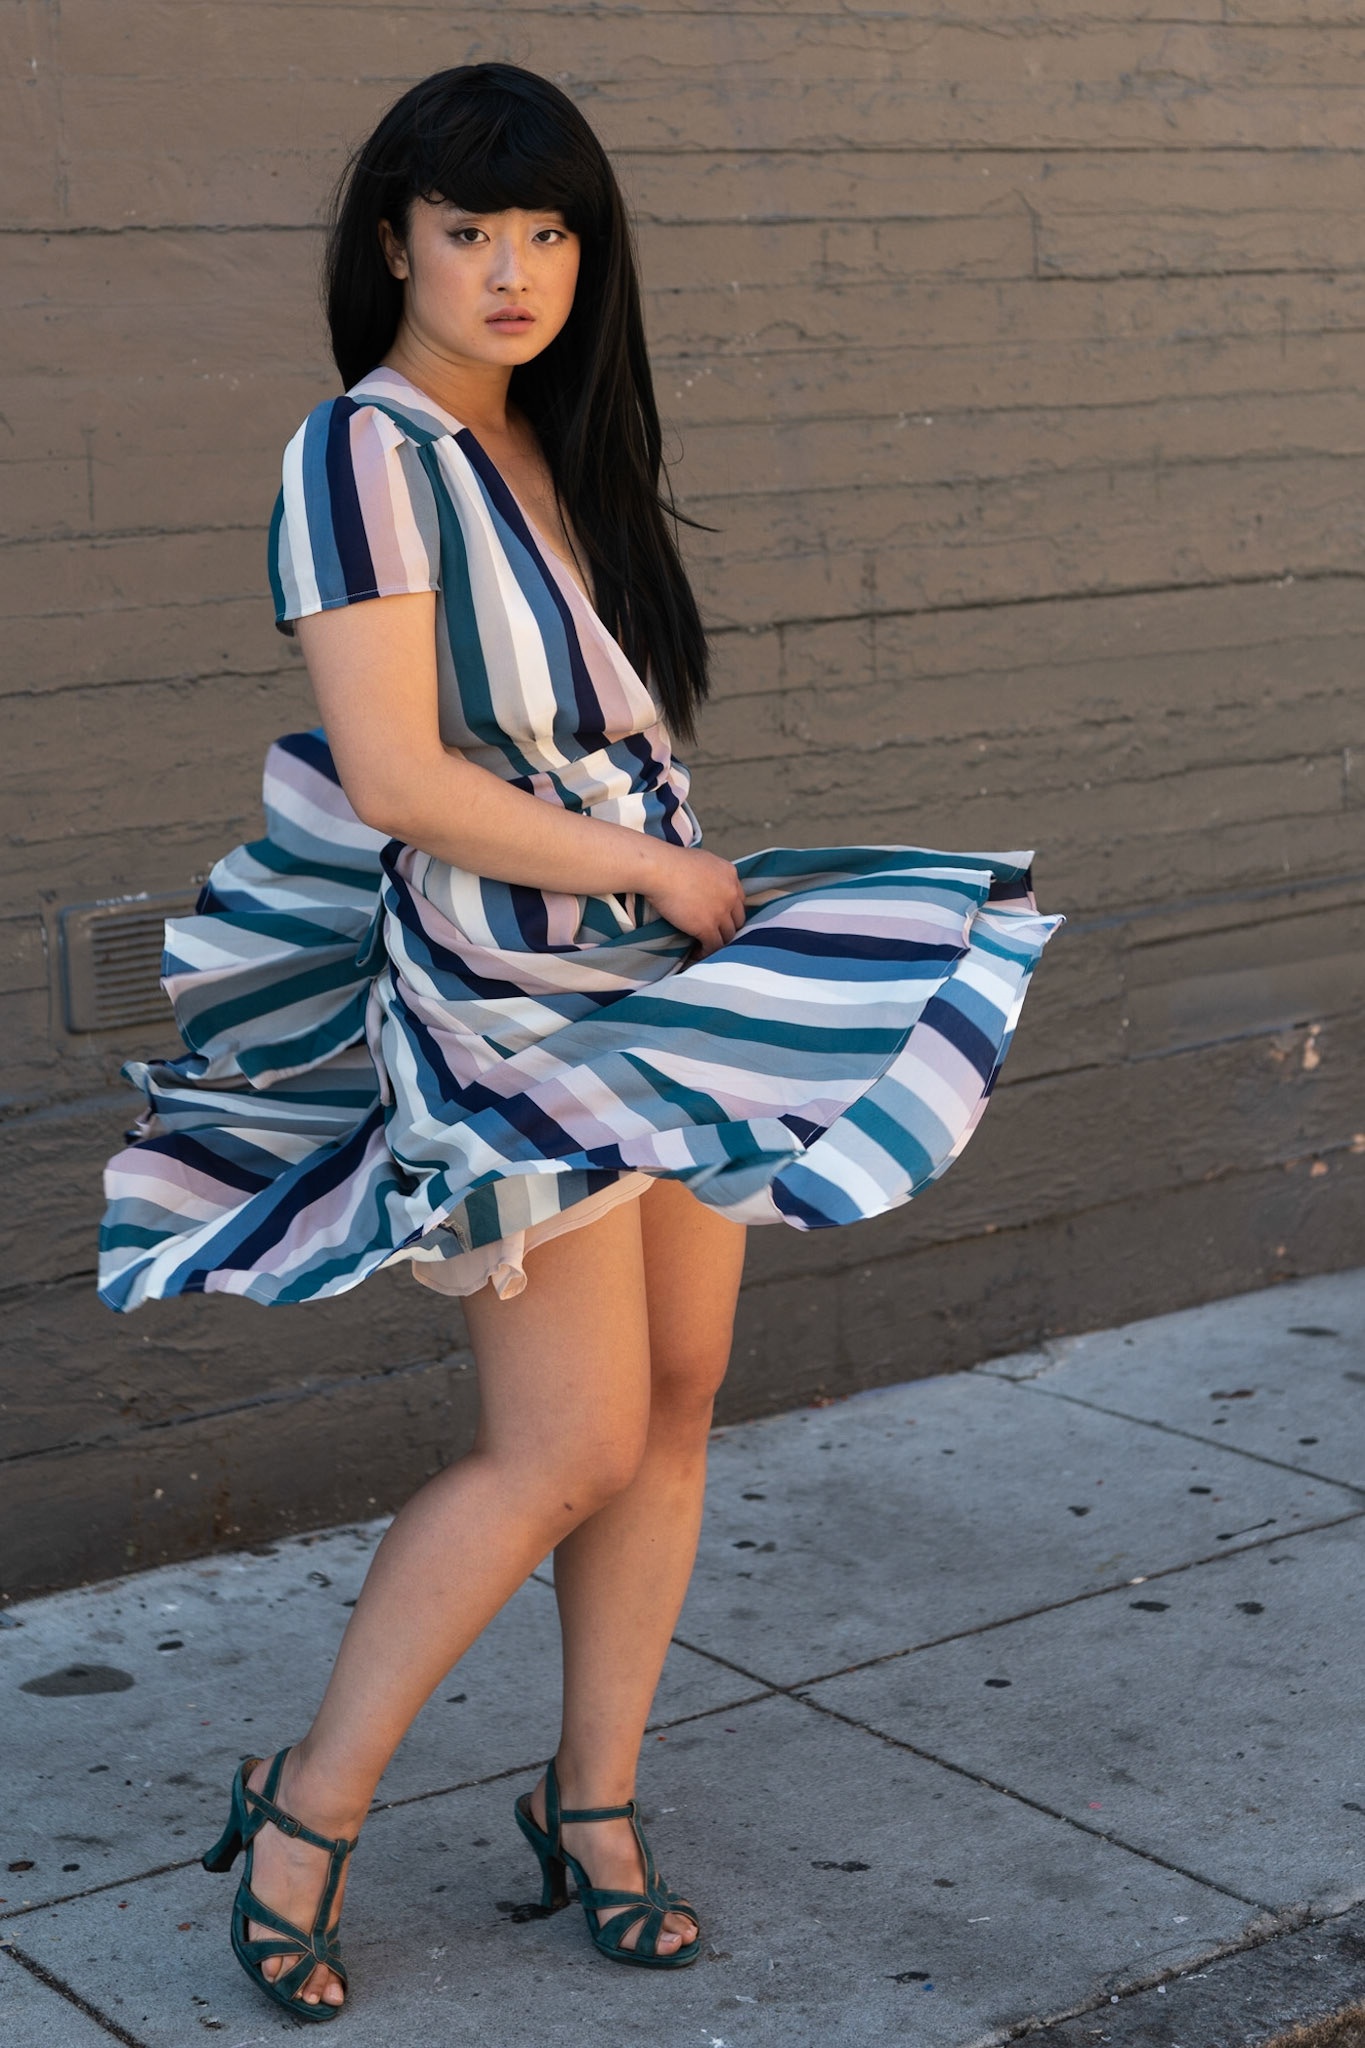
Here is a completely different Alley Shot. This also works. She is wearing stripes although we recommend against stripes. She is wearing heels although we always recommend flats for movement shots. Heels often lead to odd postures. Yet, it works. Always bring a pair of flats.
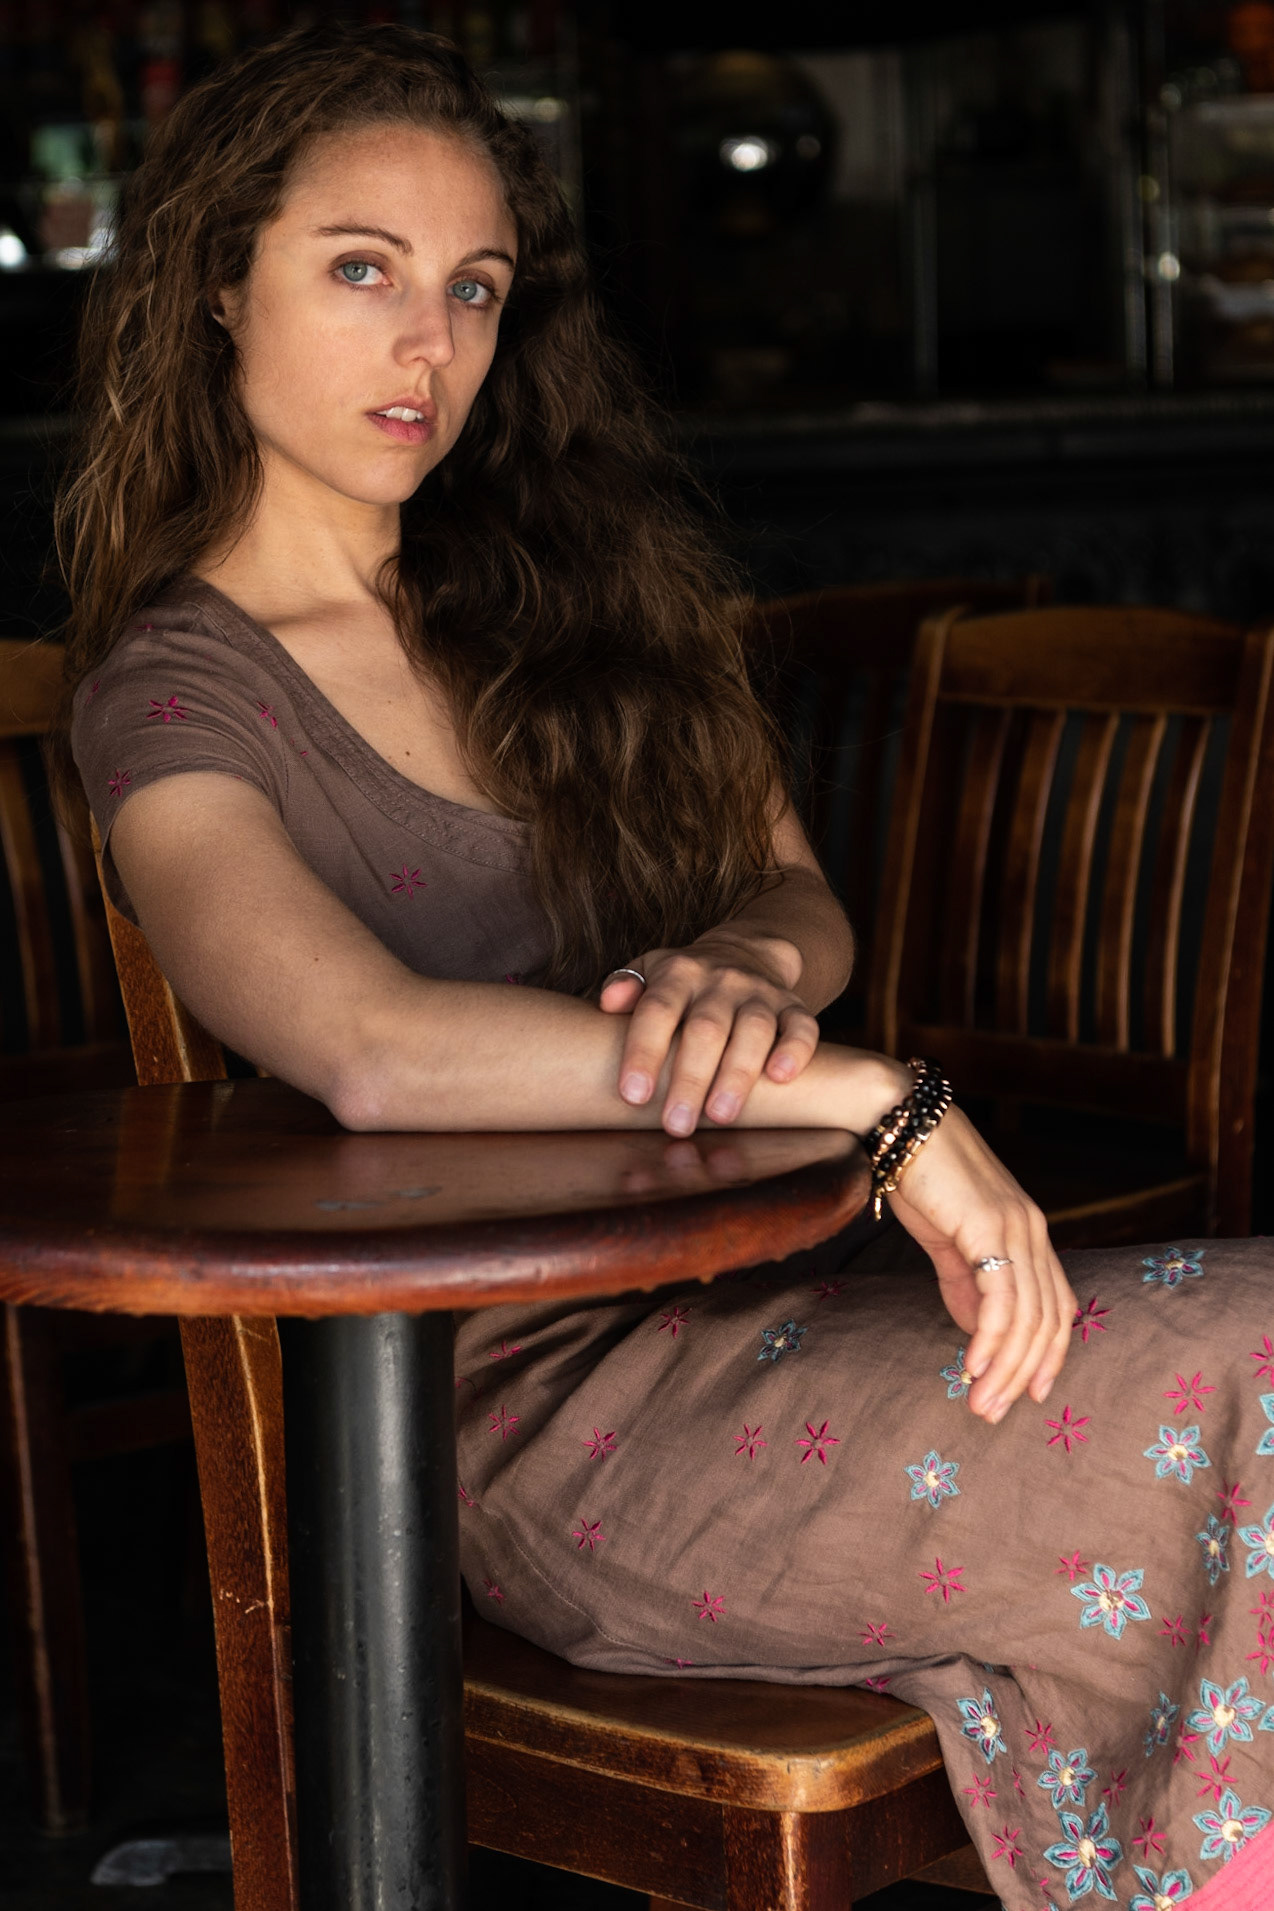
Coffee Shops
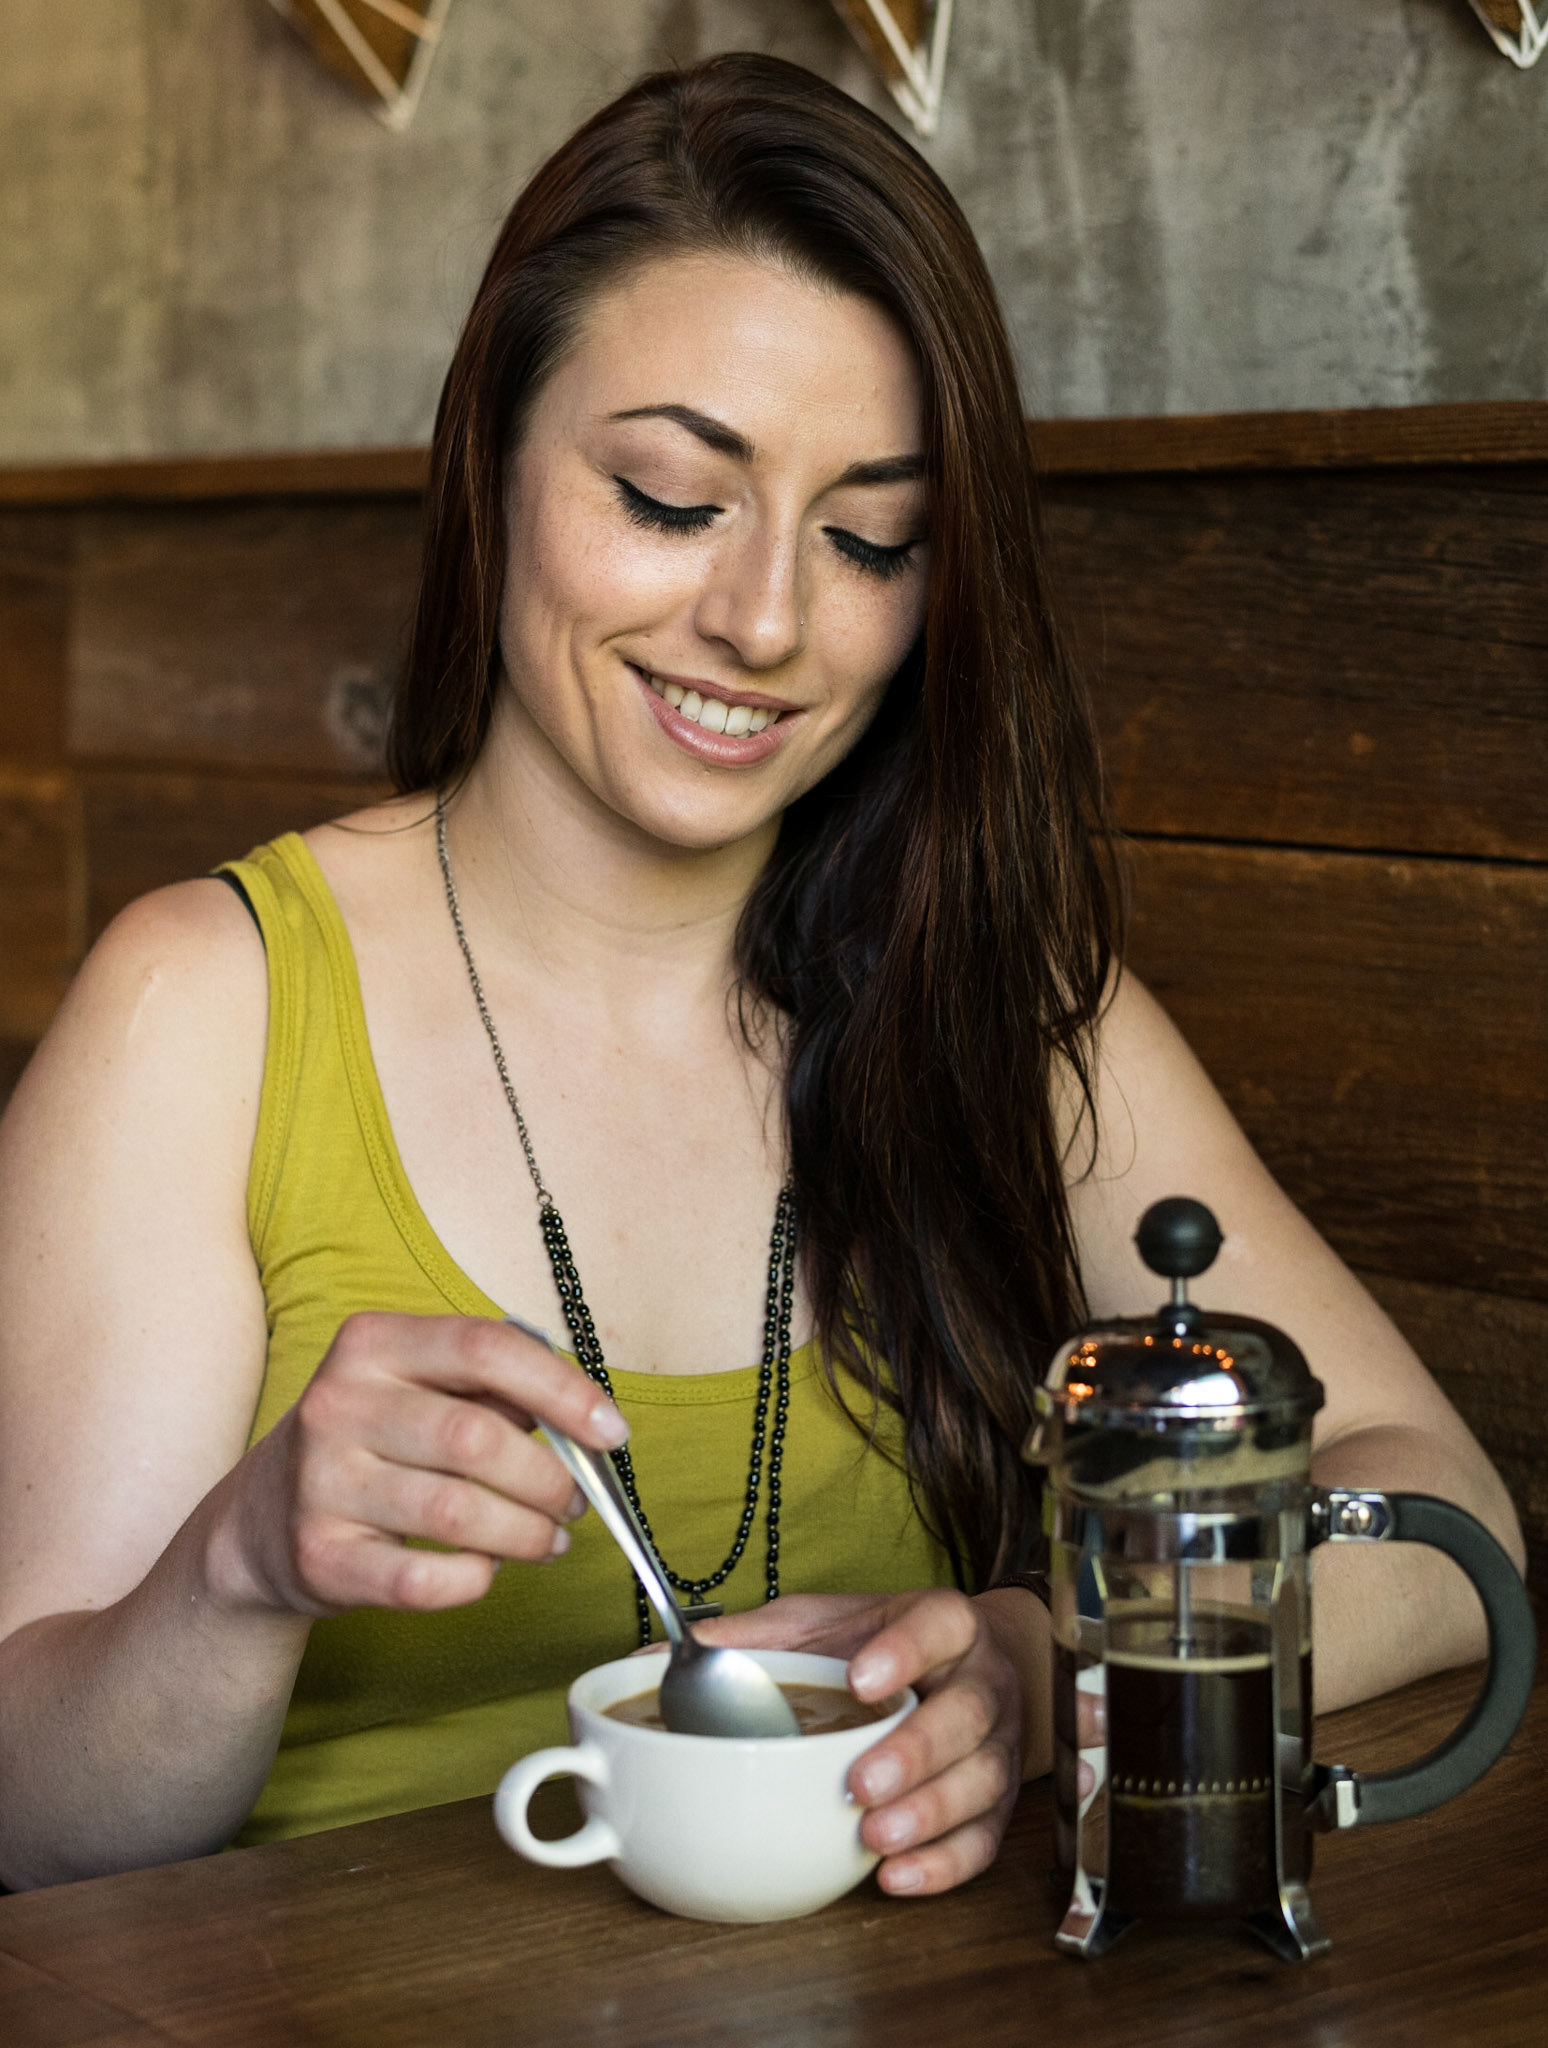
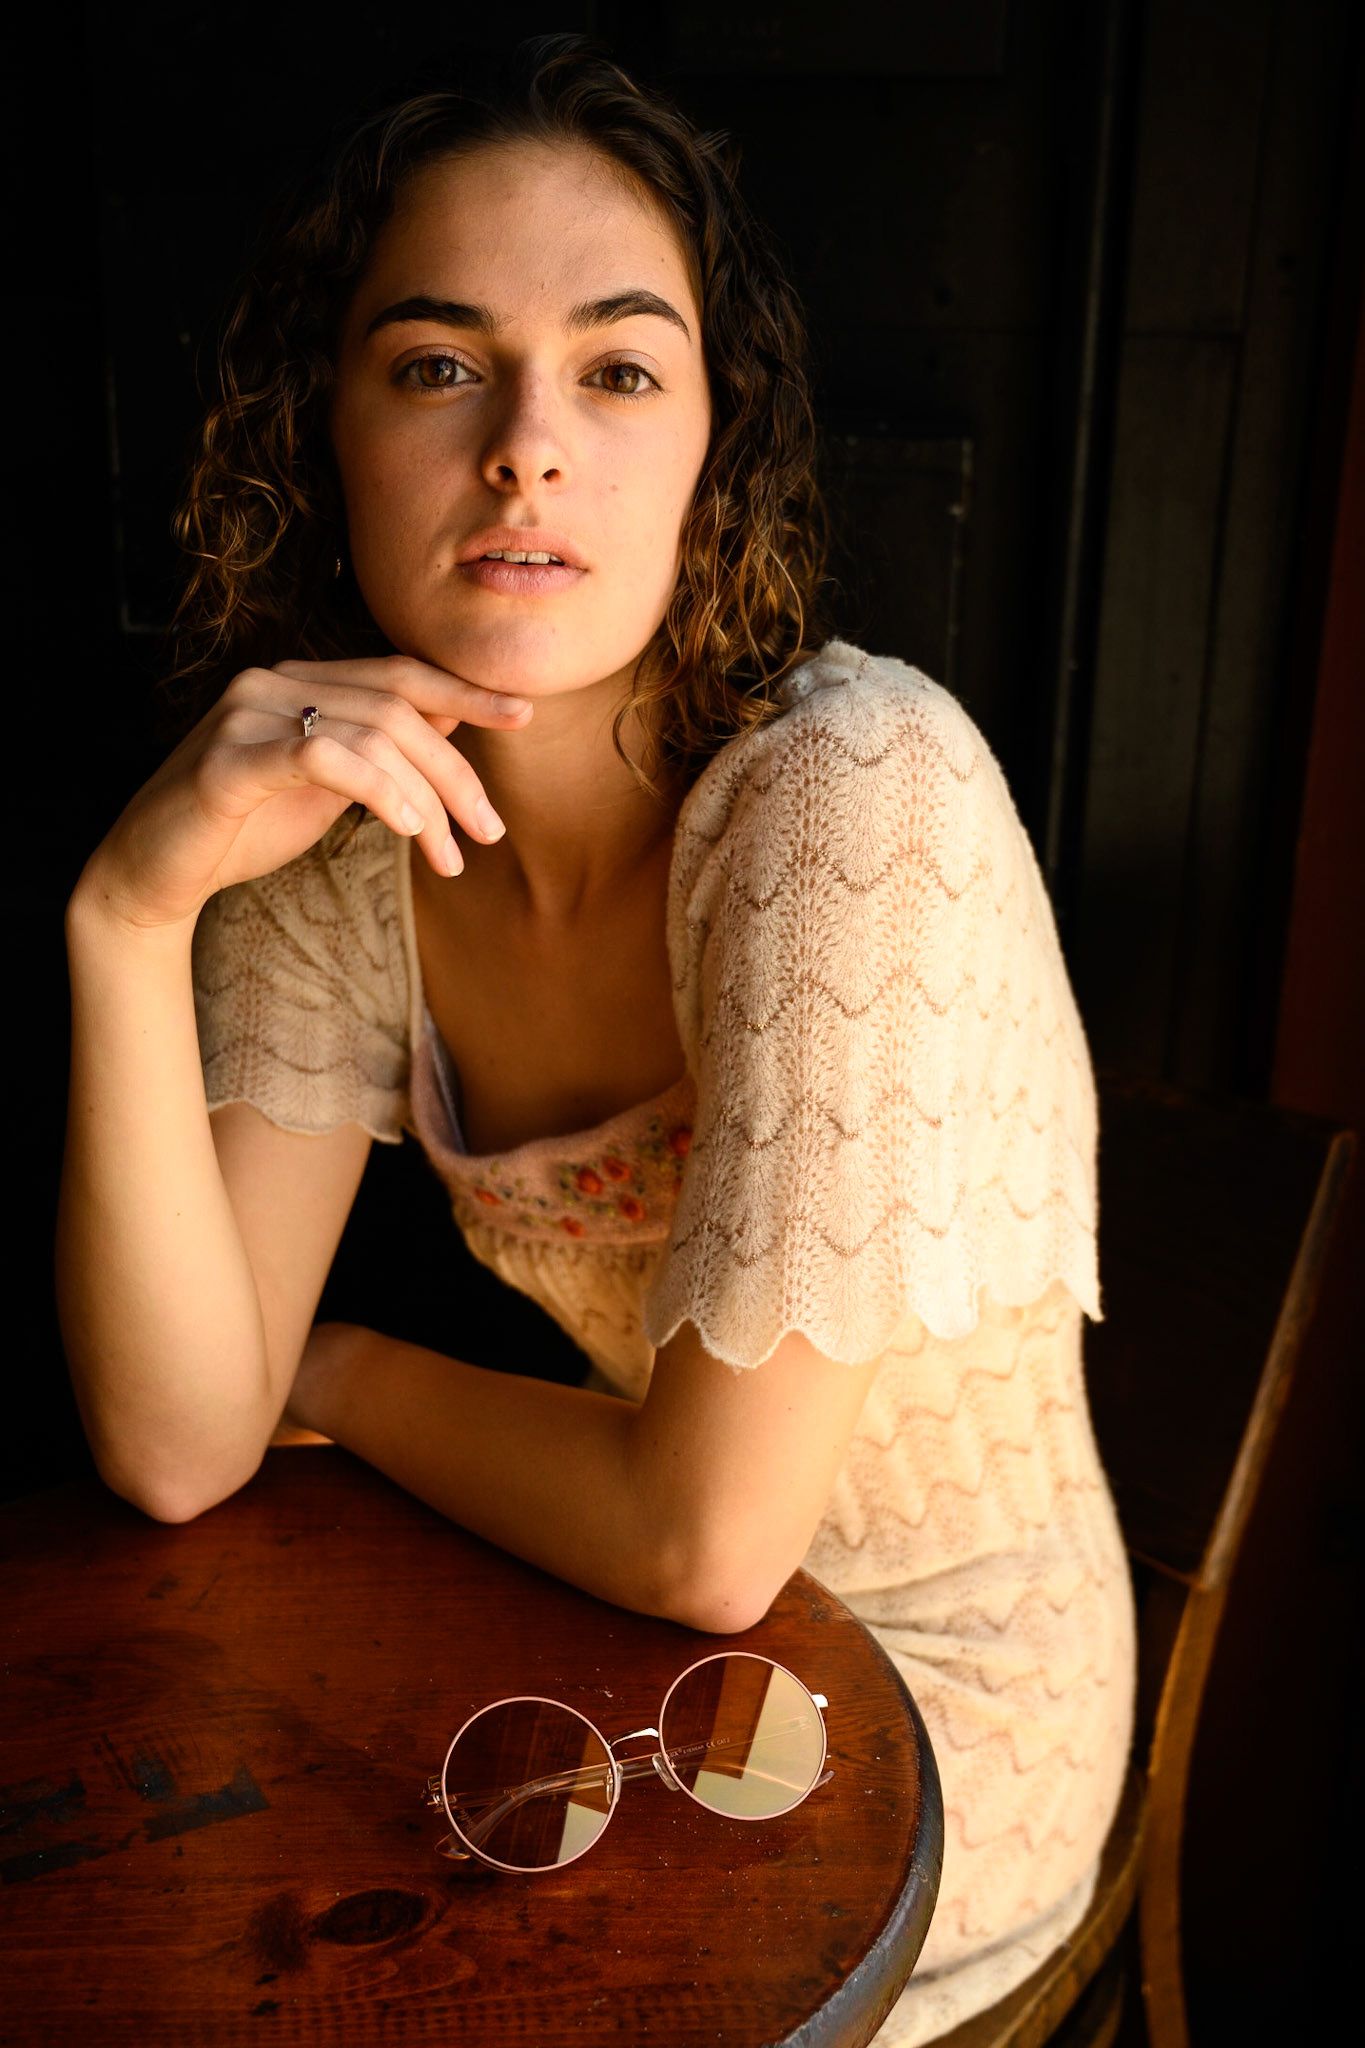
The next three are Coffee Shop Shots. Scoop necklines allow specular highlights on the collar bones. Flowing dresses that enhance leg curvature are a good choice. We want relaxed and elegant. Sometimes pensive.Sometimes seductive. Sometimes peaceful. Sometimes silly. Sometimes happy, but a whole shoot of happy smiles are not the goal. We look for variety.


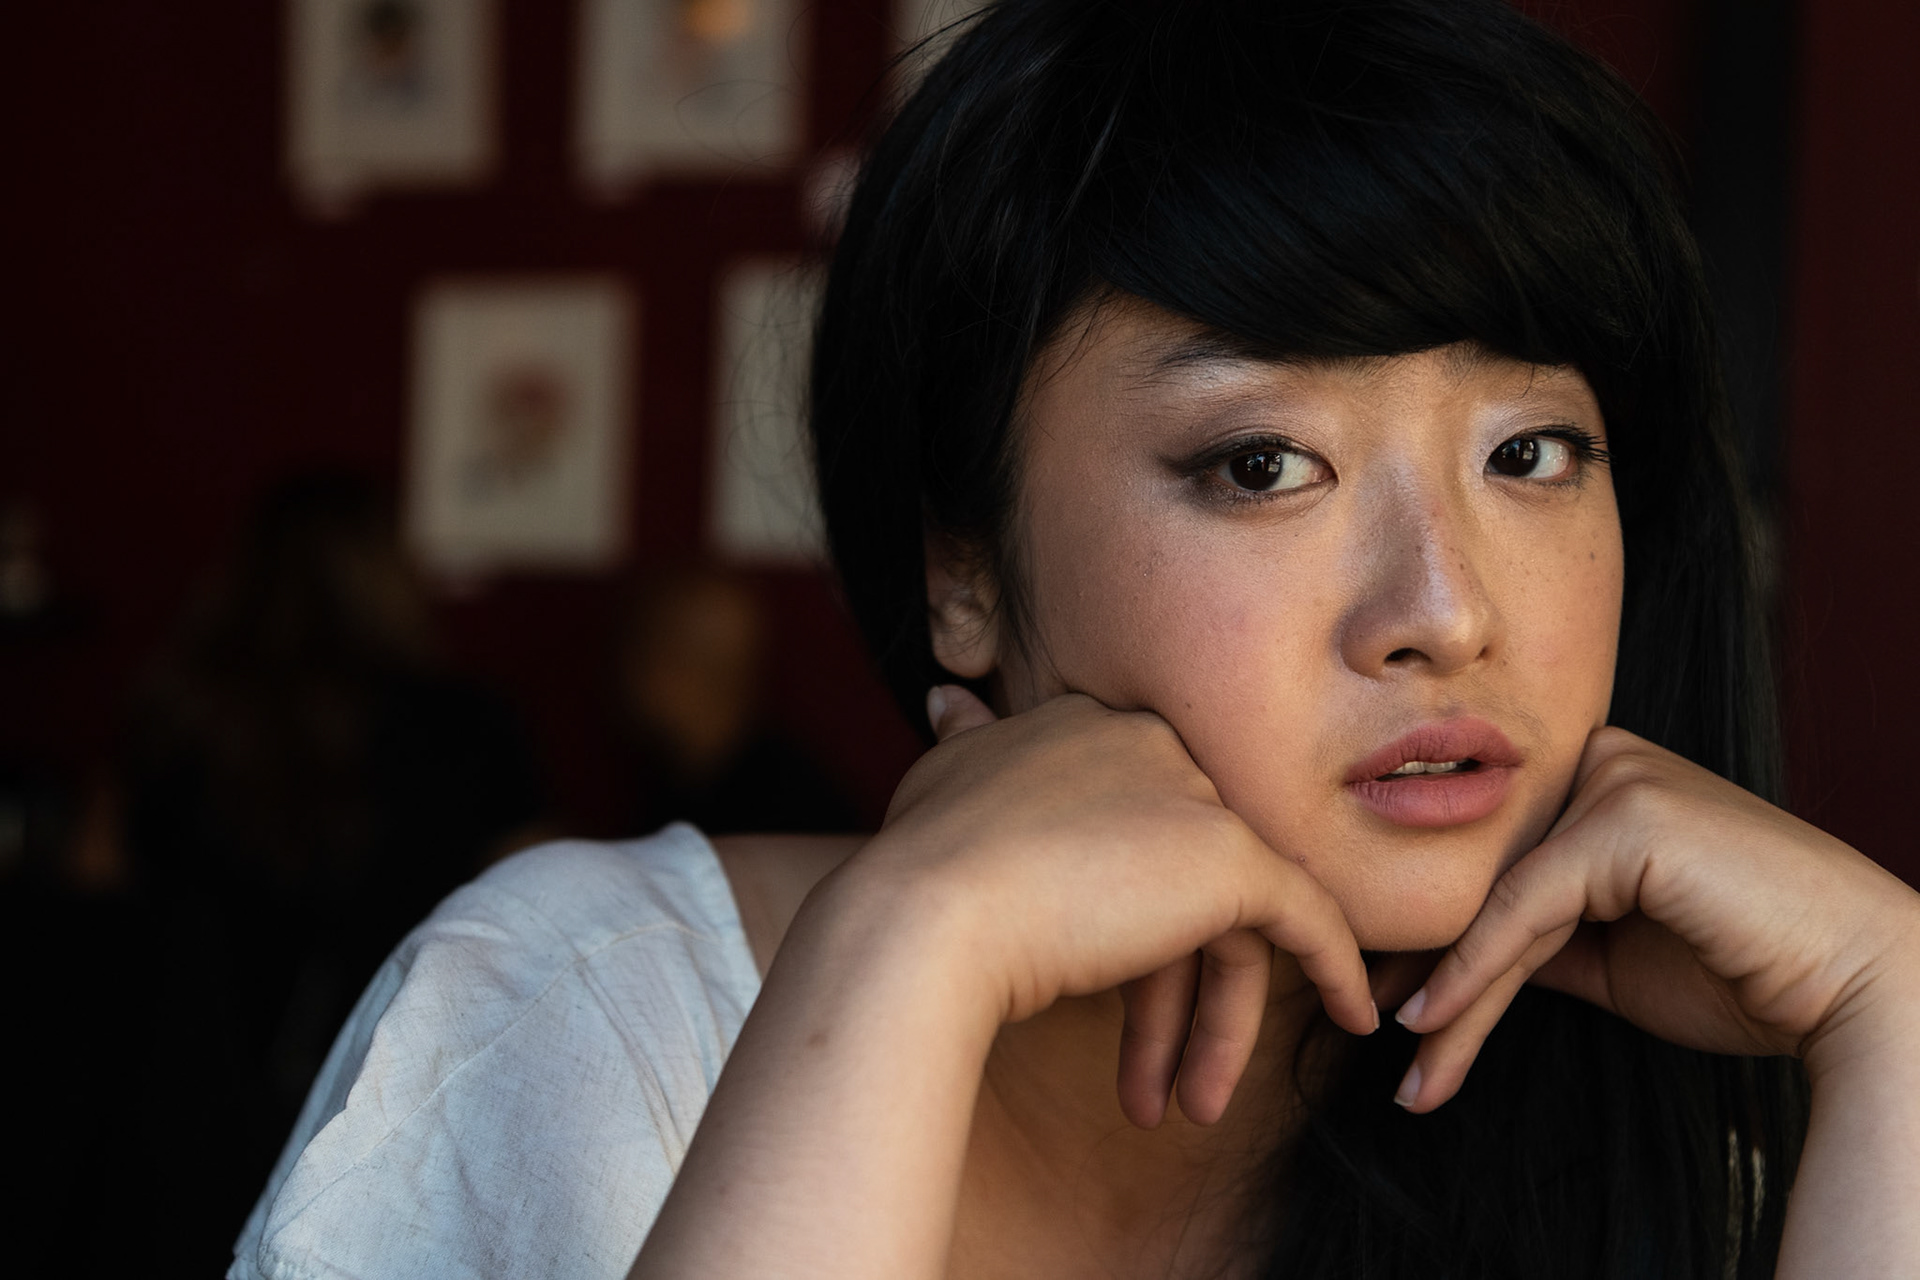
Bars, Coffee Shops, and Restaurants
The next three are Bar Shots.


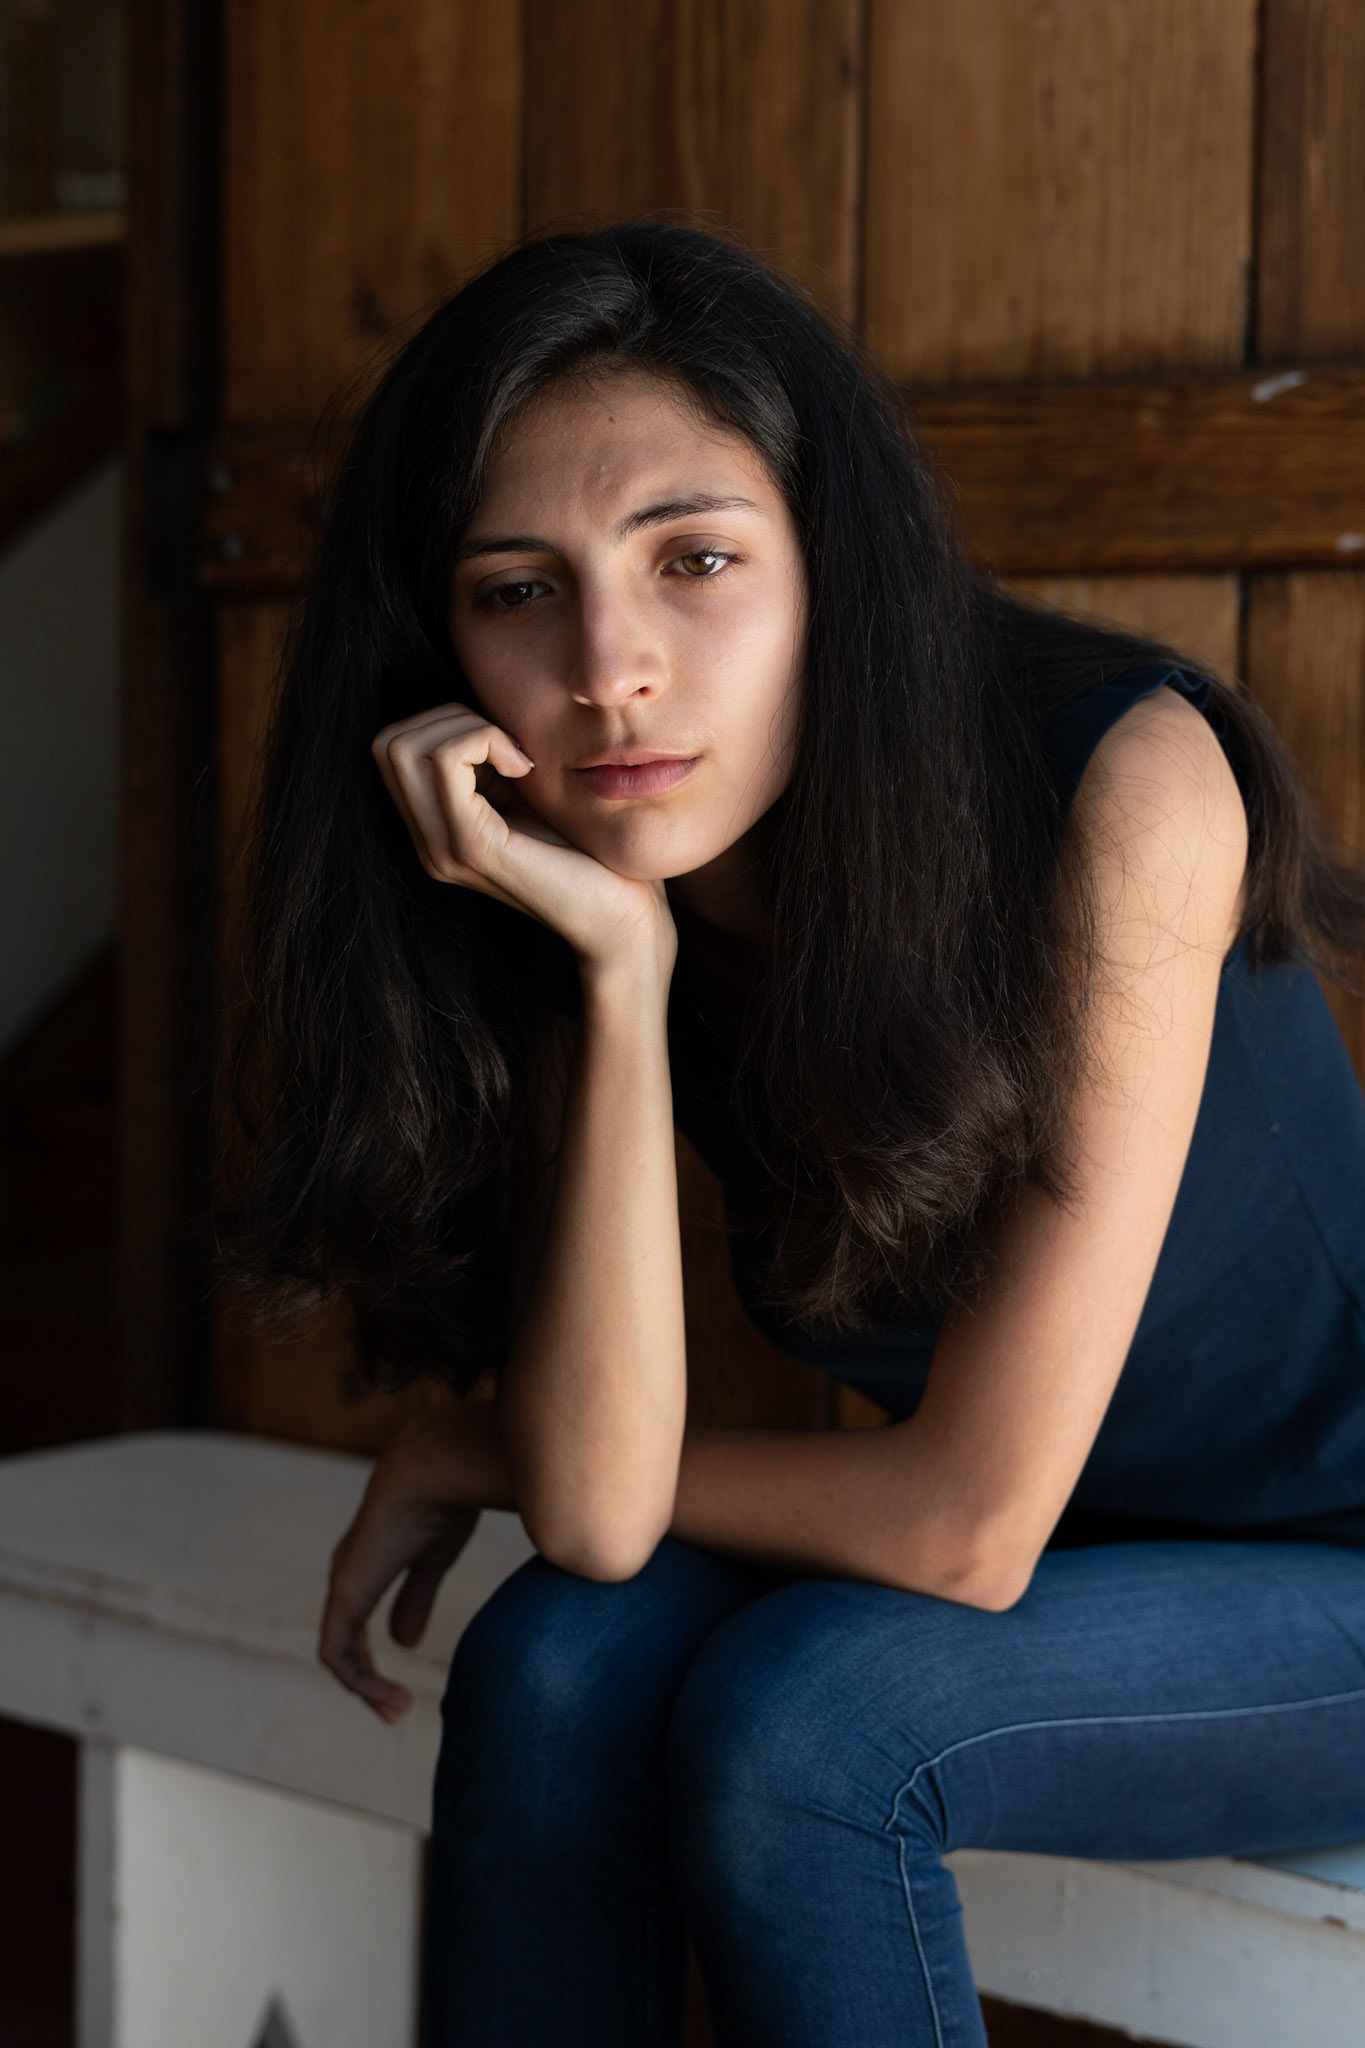
Stairwells
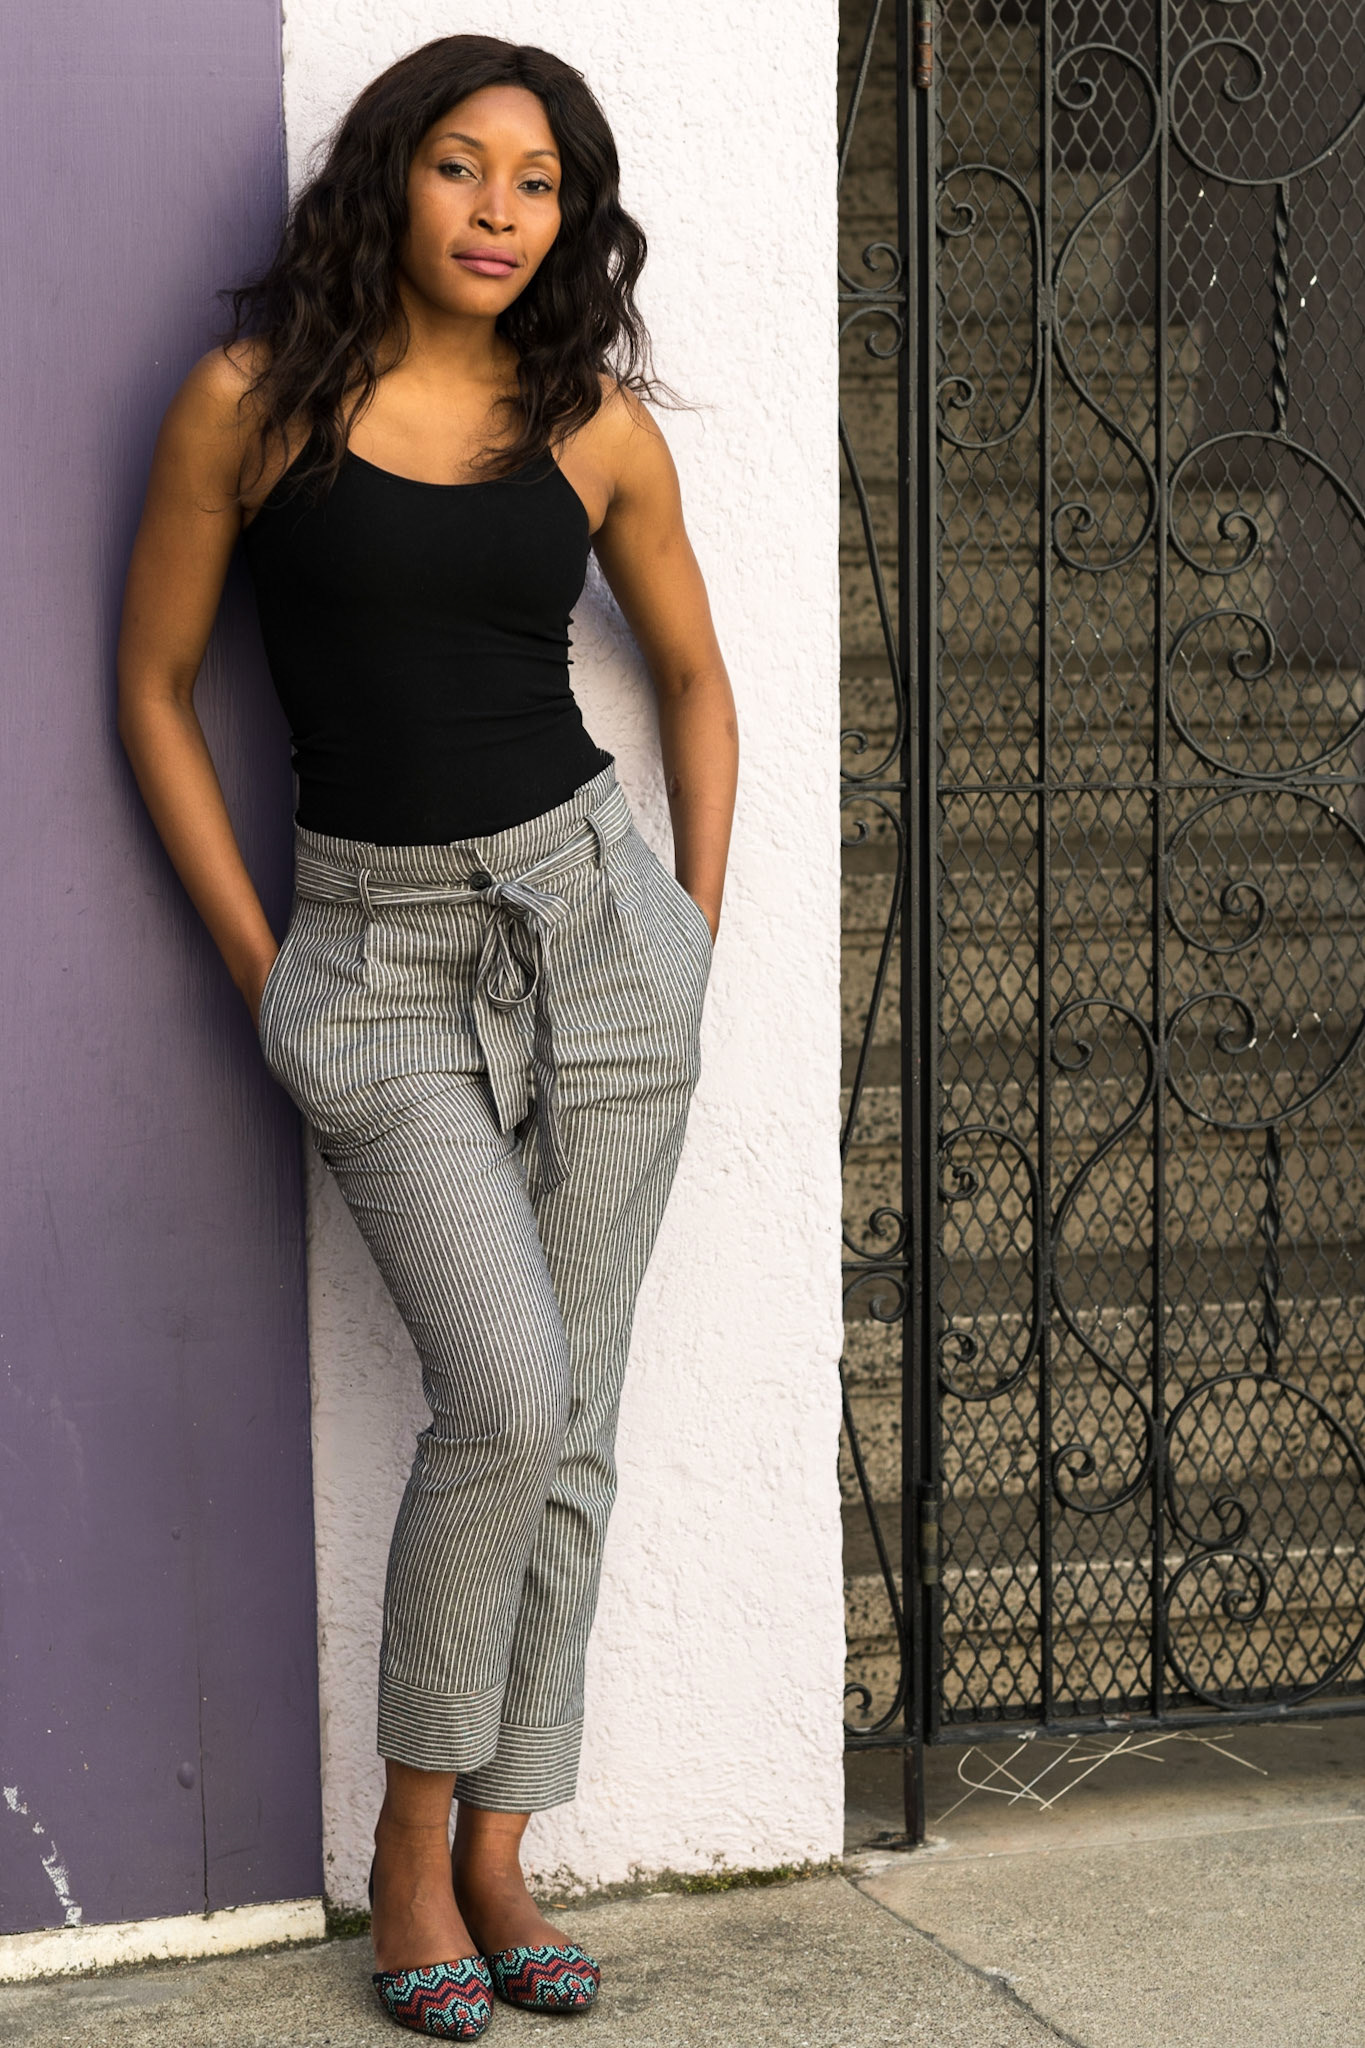
The next three images are Stairwell Shots. These are shot in stairwells along the street, in front of garage doors, and maybe on a bench in front of a store. On stairs, pants allow posing flexibility with the legs. Scoop necklines bring out collarbone specular highlights. Here we want we want to emphasize body language, mood, and authenticity.

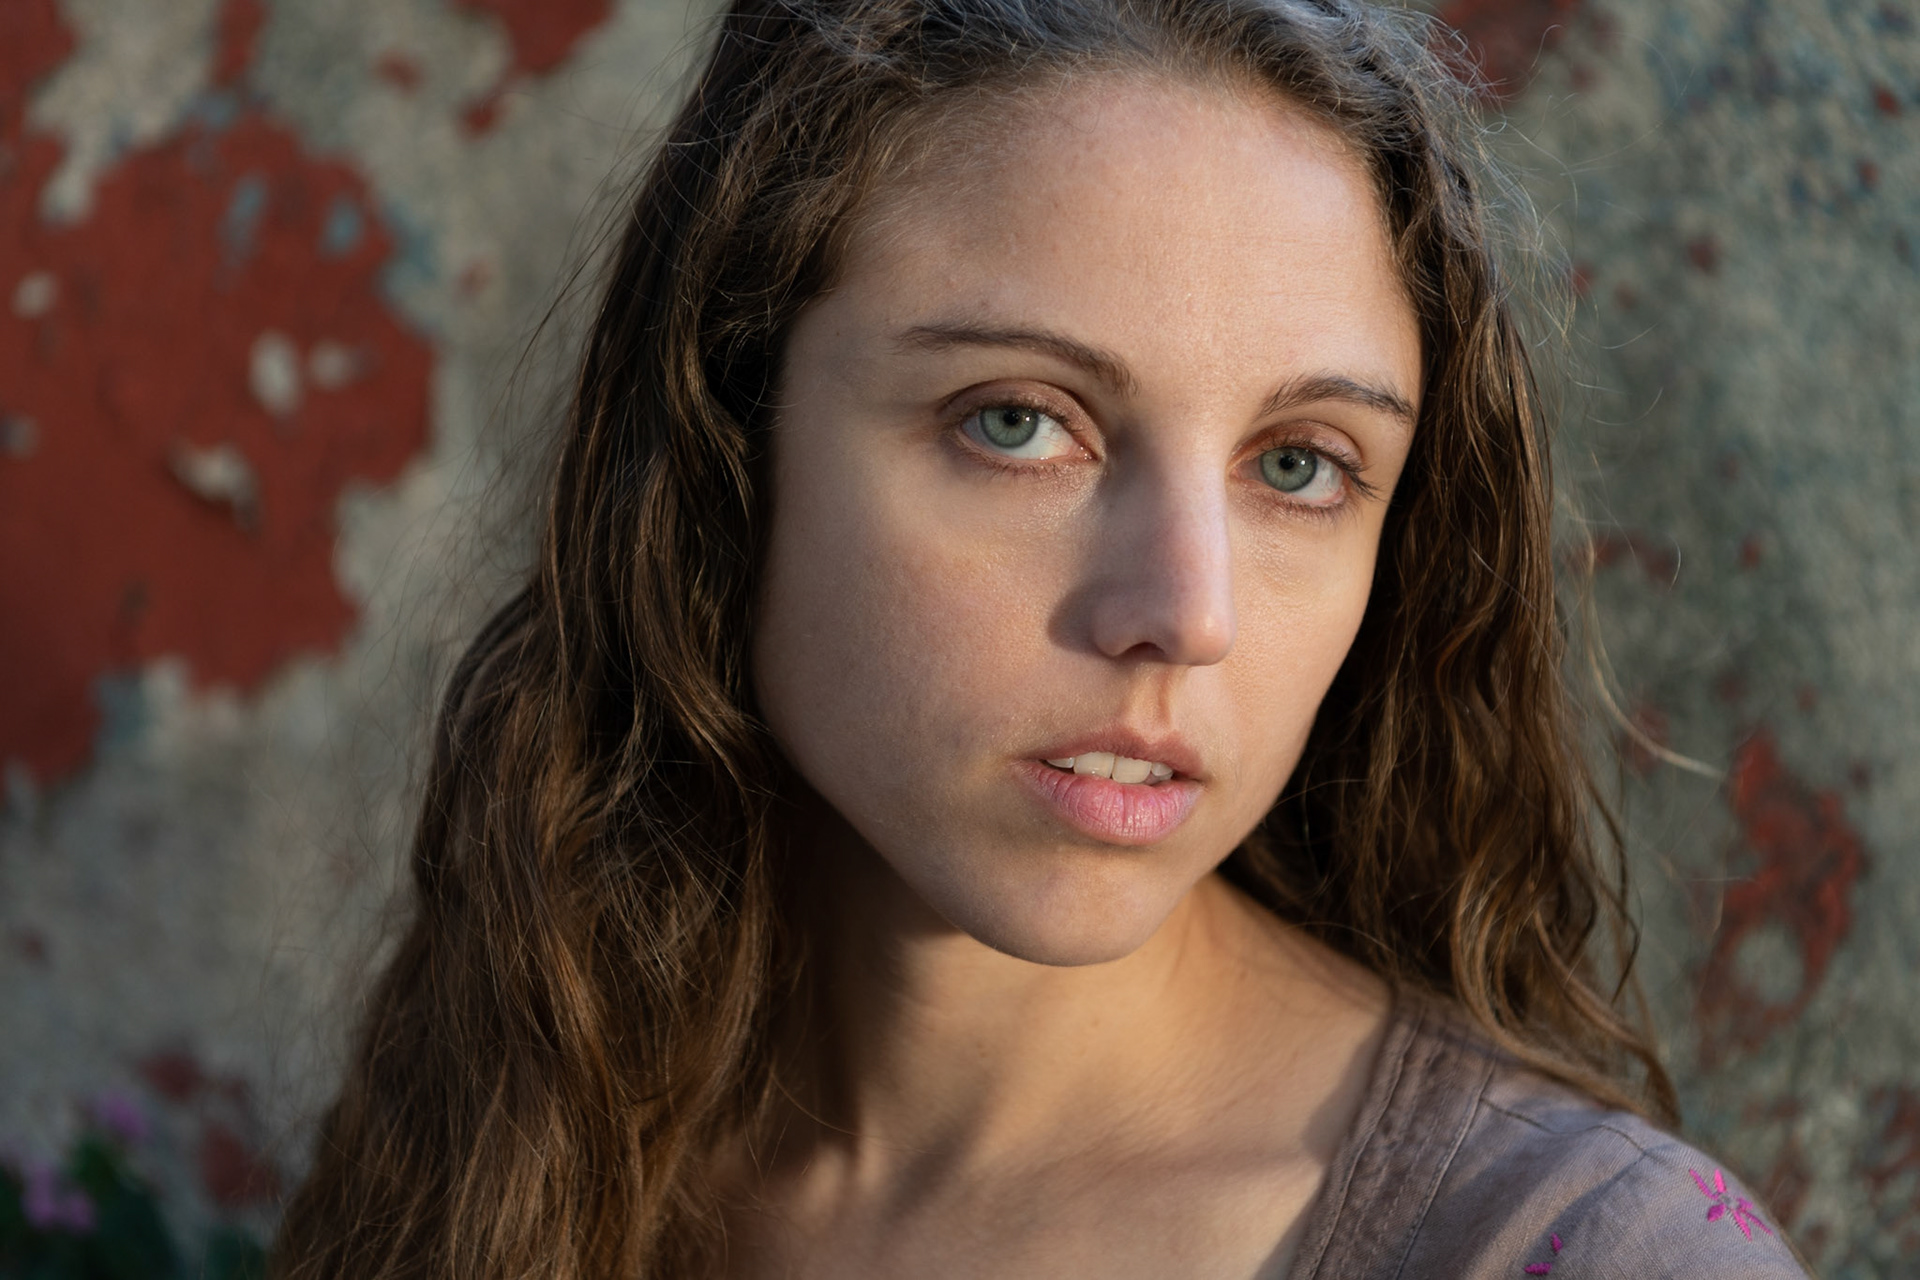
Finally, here are some Fun Shots. This is in SFMOMA.

This is my version of grunge in an alley.

And this is on Clarion St in the Mission.

Jewelry
Minimize jewelry. Very large earrings and necklaces tend to transform the image into a fashion shot about the jewelry. We want the viewer’s eye to immediately focus on the eyes and face in the image and not on a bright object.
Dressing for Tattoos
When composing an image, hands and fingers need to either be in or out of the image. When fingers are cut off in the middle, viewers feel uncomfortable. The same holds for feet and toes and ears. When the bottom of the image cuts off half a foot, viewers are left feeling incomplete. We believe the same holds for tattoos. If possible, choose garments that allow us to either put the complete tattoo in the image or to hide it. We know this is not always possible. But, please keep it in mind.
Makeup
[Needs Editing. First is simple set of directions by Karyn and second is more complete by Shirley]
Natural makeup is the rule. Karyn Jeanne Alley (http://karynjeanne.com/), a makeup artist who specializes in natural looks, advises: For clean makeup shoots, make sure the models are using light, matte makeup on their face. Nothing with a shimmer, shine, or glitter to it, and not too heavy. A light-handed taupe in the eye crease works well for almost anyone. Think nudes, taupes and brown-based shadows, contour, everything but the lips. Eyeliner is acceptable, but keep it minimal. Keep lipstick somewhat muted; lip gloss and natural tones are good for everything but glamor shots (note: we are not doing glamor photography unless we have
arranged it prior to the shoot). Colors one or two shades darker than one’s features recede, and one or two shades lighter brings them forward. Also, do not use makeup to cover blemishes; these can be removed in Lightroom, but heavy makeup is difficult to soften in post-processing.
If you want glamor shots we can do those. We ask that you hold back on heavy makeup and lipstick until the last part of the shoot.
From Shirley Mcmurrian https://www.shirleymcmurrian.com/
https://www.instagram.com/shxmarie/ shirleymcmurriann@gmail.com
For clean makeup application you will want to start by prepping the skin with a deep penetrating moisturizer to give the make up a nice evenly textured base for your foundation application.
Next You will want to use a light coverage foundation to simply give the skin a color base. Avoid full or medium coverage foundation. Light coverage foundation will help the skin appear more skin like and natural overall.
Next use concealer 2 shades lighter to bring forward parts of the face you would like to attract more light including the the inner tear duct and underneath the eyes, the bridge of the nose, the outer corners of the lips. Repeat the same steps using a color two shade deeper than your skin tone to add distinction and dimension to the face in areas you want to appear “sunken in” for instance the cheek bones, tip of the nose, and forehead. Use your foundation brush from earlier using the remaining foundation left on the bristles to blend out the contour areas for a more seamless undetectable contour. I recommend using cream concealers for both the highlighting and contouring to achieve more natural skin like results. Liquid products tend to look very dry and stick to texture on the skin making the makeup look patchy and uneven after being set with powder. In my experience the powders you will need to set your look with work better on top of cream product.
Next if blush is required use a cream blush, you can substitute a cream blush with a lipstick if you do not own one. Use your foundation brush to apply blush color, the left over product on the brush will help to diffuse the product for a seamless application. For blush colors opt for soft nude color, peachy colors or dusty rose colors on lighter complexions. Warm Rusts and oranges on deeper complexions. Cream blush give the skin a youthful glow that looks like it comes from within vs powder blush which tends to have intense color that is hard to blend. You will want to keep the lip color muted by using nude shades you can use a pop of gloss to add sheen. For eyes you will want to avoid shimmers, glitters or colors with sheen. Taupe, mauve, or browns to accentuate the crease and give the eye dimensions will do. Avoid shadow underneath the eye
to avoid racoon eyes. For lighter complexion i recommend using brown liner simply to add dimension to the lashline to make the upper last line appear fuller. Deeper complexions I recommend using black liner, again liner is only being used to create dimension within the lash upper lash line to make lashes appear fuller. Avoid liner and lashes on the bottom lash line/ water line to avoid racoon eyes. Apply lengthening/ volumizing mascara to top lashes. Please avoid false strip lashes as they look fake and cannot be edited out.
Lastly you will want to set your entire look using 100% translucent powder with no additional color. This will ensure your look is matte and shine free and the colorless powder will not disturb any of your earlier work. Do not worry about blemishes that may still appear noticeable even after make up application those are easily removed with photoshop, heavy make up however is difficult to soften in post processing.
Props
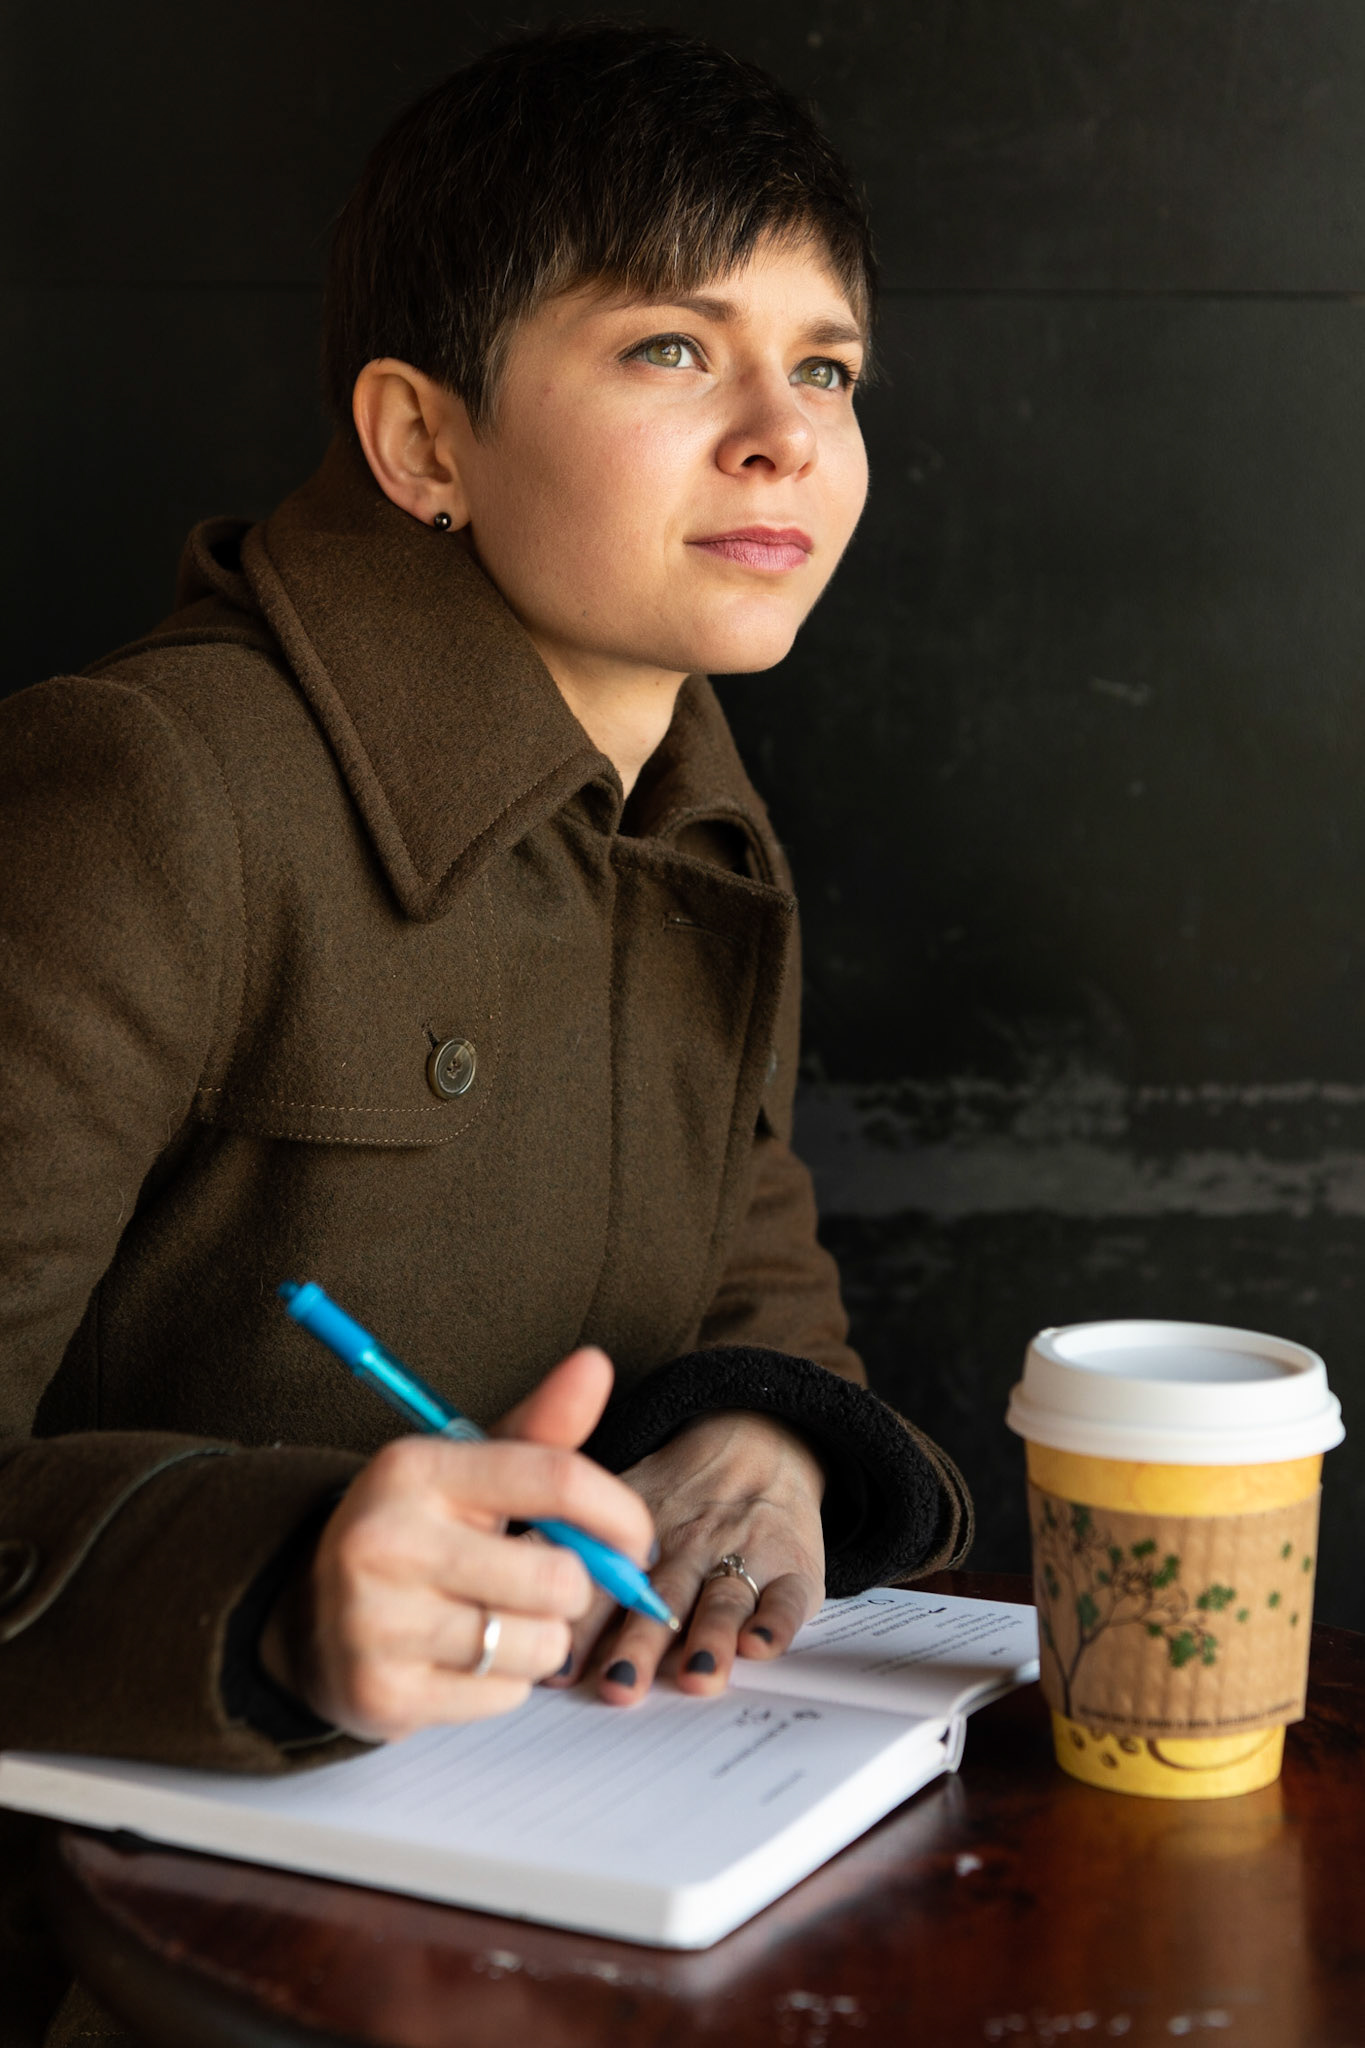
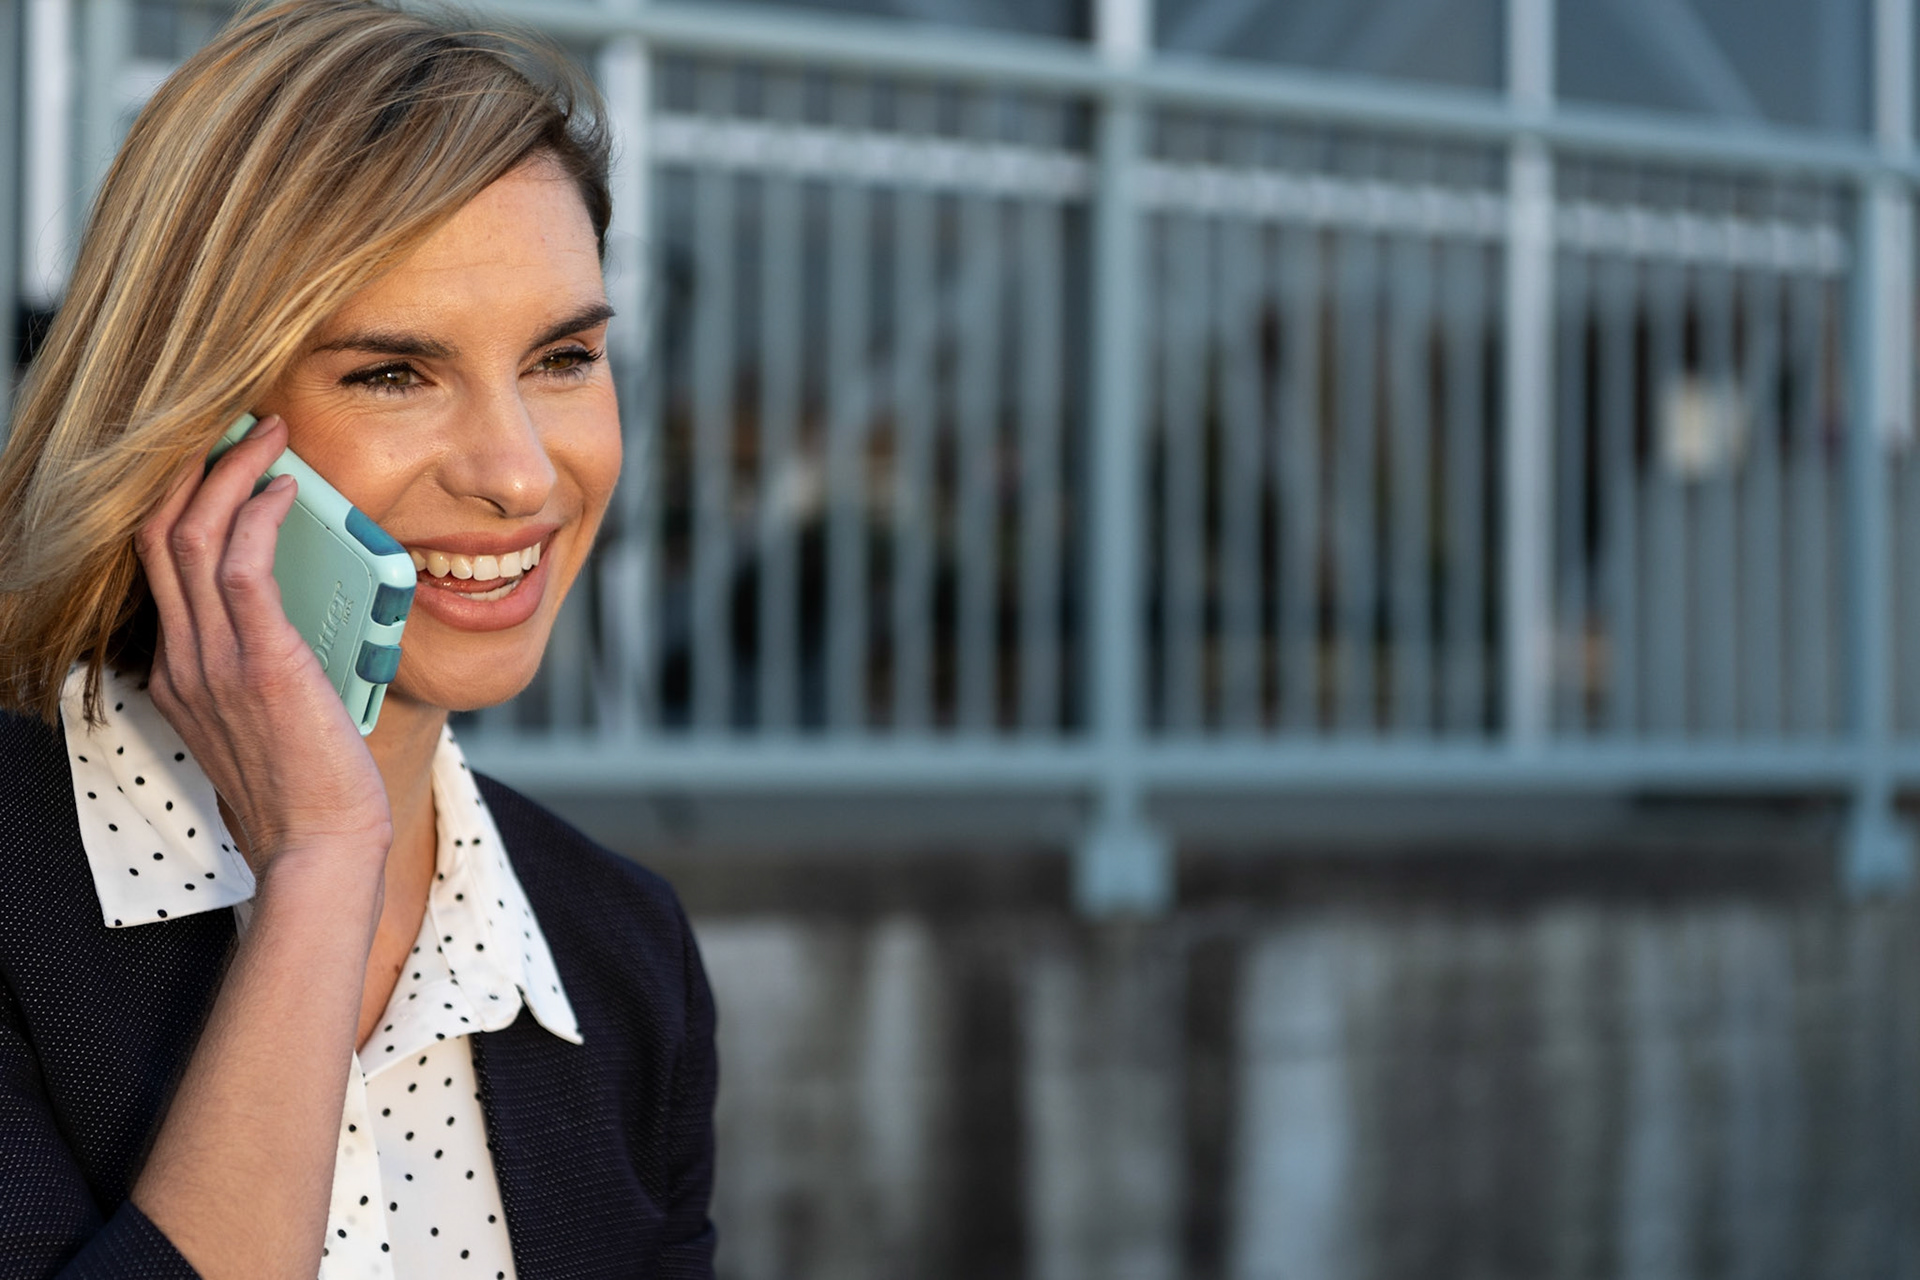
Props can be useful: a book, diary and pen, cell phone, laptop, shawl or scarf, especially scarves in deep rich colors that compliment the top.


Mood
Varied expressions in photos are best when they come from you, especially if you can use the memory of a past event to trigger a mood you would like to project. When we move to a new location we will shape the light for a scene and at the same time craft the scene. Maybe you are sitting or standing at a bar, bus stop, coffee shop, dentist office, home couch, kitchen table, restaurant, ... anticipating, arguing with, bored with, dreading, enamored with, waiting for, ... a
doctor, a friend, a lawyer, a parent, a sibling, a significant other, an unknown stranger, ... Once we know the lighting and the scene, we will carefully pose and focus on the emotion behind the scene. You may strike poses or move fluidly in response to your imagined scenario. Live the scene in your body and your face while we shoot. That's all there is to it.
Most of all, don’t worry! We want you to be comfortable, relaxed and proud. That's more important than our advice.
